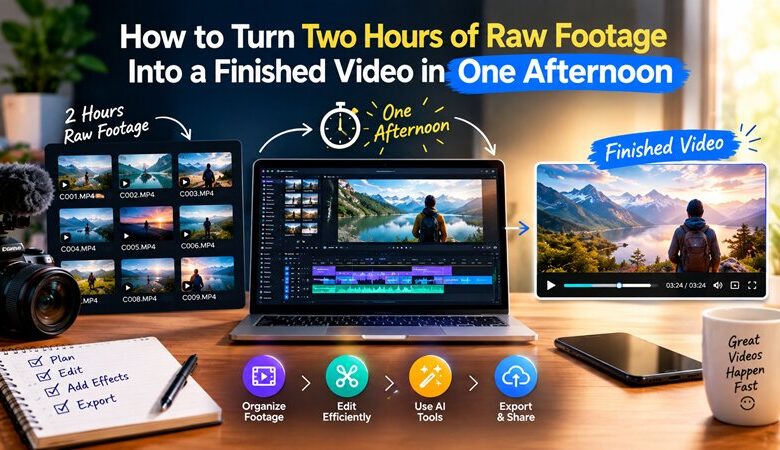
You finished the shoot feeling good. Then you opened the folder: two hours of footage, forty-odd clips, the same intro recorded six times, and a vague memory that the best take was “somewhere in the middle.”
This is where most videos stall. Not because editing is hard, but because the first stretch of it is slow. Watching everything, logging the good bits, cutting the stumbles, and building a rough order can easily eat a full day before you’ve made a single creative decision.
It doesn’t have to. With an AI-assisted workflow, two hours of raw footage can become a finished, publishable video in a single afternoon. Here’s exactly how, step by step, using invideo Editor, a free, browser-based editor with AI editing agents you can hand real work to.
Before you start: 15 minutes of prep
The afternoon plan works because the AI does the slow part. But it can only be as good as what you give it. Spend fifteen minutes on this before you open the editor.
- Put every clip in one folder. All of them, including the takes you think were bad. You’ll be surprised how often the “bad” take has the best moment.
- Write a three-line direction. What is this video, who is it for, and how long should it be? For example: “A four-minute customer story for our website. Focus on the problem she had and how quickly it got solved. Warm, not salesy.”
- Note your must-haves. The line you definitely want in, the product shot that has to appear, the ending you’ve already pictured.
- Gather your brand assets. Logo, music track, font files, end card.
That’s it. You don’t need a shot log or a paper edit. That’s the part you’re about to hand off.
The afternoon, hour by hour
Here’s a realistic schedule. Your timings will vary with the project, but the shape holds.
| Time | What you do | Who does the heavy lifting |
| 1:00 – 1:30 | Upload footage, add your direction | You |
| 1:30 – 2:00 | Base cut is assembled | The AI editing agents |
| 2:00 – 3:00 | Fix structure and pacing | You, with the agents |
| 3:00 – 4:00 | Color, audio, text, brand | You, with the agents |
| 4:00 – 5:00 | Versions, final review, export | You |
1:00 – Upload and brief
Open ai.invideo.io and choose Timeline Editor below the prompt box. It runs in the browser, so there’s nothing to install. Upload the whole folder, then paste in the three-line direction you wrote earlier, plus your must-haves.
1:30 – Let the agents build the base cut
This is where the afternoon is won. invideo Editor’s Agentic Assembly is what makes it an agentic video editor rather than just a timeline in a browser. The agents:
- Review all two hours of material
- Select the usable takes
- Cut repetition and false starts
- Return an editable base cut on the timeline
The job that usually swallows a whole morning now runs while you grab a coffee.


2:00 – Fix the structure first
Watch the base cut from start to finish without stopping. Don’t touch anything yet. Just note what feels wrong. Then work through the big questions, in this order:
- Is the story in the right order? Move whole sections before you trim anything.
- Where does it drag? Tighten those moments first.
- Is anything missing? A reaction shot, a transition, a line you know was said.
- Did a strong take get dropped? Pull it back from your bins.
You can do all of this by hand on the timeline, or describe it: “Move the pricing section after the demo” or “tighten the intro to under 20 seconds.”
Finishing: from rough to publishable
3:00 – Color, audio, and brand
Footage shot across a long session rarely matches. The light shifts, a camera setting gets bumped, a window goes from sunny to grey. A pass of color grading pulls it all into one look. If you shot on more than one camera, match them to each other before you worry about style.
Then move to sound, which viewers forgive far less than picture:
- Level the dialogue so nobody is suddenly louder or quieter
- Bring the music under the voice, not over it
- Check the first and last five seconds, where audio problems are most noticeable
Finally, add your brand: logo, lower thirds, end card, and your own font files. When the same change applies in several places, mark those sections on the timeline and give one instruction instead of repeating the edit.
4:00 – Versions, review, export
One shoot rarely means one video. While everything is fresh, ask for the versions you’ll need later. For example, “give me a 60-second version and a 30-second version of this cut.” Compare them side by side and keep the ones that hold up.
For the final review, watch the main cut on the device your audience will use. A video that works on a big monitor can feel slow on a phone. Fix anything that bothers you, then export.
Five mistakes that turn an afternoon into a week
- Pre-trimming the footage. Cutting clips before upload feels efficient, but it hides material the agents could have used.
- A vague direction. “Make it good” gives the agents nothing to aim for. Length, audience, and tone are the minimum.
- Polishing too early. Color grading a scene you’ll later cut is wasted time. Structure first, always.
- Rebuilding versions by hand. If you need a shorter cut, ask for it. Don’t duplicate and re-edit.
- Skipping the phone check. Most viewers will watch on a small screen. Review there before you publish.
Conclusion
The reason editing used to take days was never the creative part. It was the watching, sorting, and first assembly that came before it. Hand that to AI editing agents, keep the decisions for yourself, and an afternoon is enough to turn two hours of raw footage into something you’re proud to publish.
invideo Editor is free and runs in your browser. Next time you come back from a shoot with more footage than time, give the afternoon plan a try.
Frequently asked questions
Can AI really edit two hours of footage that quickly? It handles the slowest part, the review, take selection, and first assembly, which is usually most of the time. You still make the creative calls.
Do I lose control over the edit? No. invideo Editor returns an editable base cut. You can change anything on the timeline by hand or by describing the change.
What kind of footage works best? Anything with a lot of material to sort: interviews, customer stories, vlogs, product demos, webinars, and podcasts recorded on video.
Is invideo Editor free? Yes. It’s completely free to use and runs in the browser.